一、安装Chrome浏览器
参考《Linux环境centos7系统,宝塔面板如何安装老版本谷歌chrome浏览器》
二、安装Selenium库
支持Python版本:Python 3.9+
-- 如果没有Python3,请运行下面命令安装Python3
sudo yum install epel-release //安装EPEL仓库
sudo yum install python3 //安装Python3
python3 --version //查看Python3版本

-- 安装Selenium类库
pip3 install selenium //安装最新版本,这里是4.25.0
pip3 install selenium==3.14.0 //指定低版本安装

pip3 uninstall selenium //卸载
pip3 show selenium //显示版本
如果是安装的最新版本,这里Selenium的最新版是4.30.0,则只继续步骤三
如果是安装的是低版本,这里Selenium的低版本是3.14.0,则只继续步骤四
三、安装webdriver_manager库
pip3 install webdriver-manager
测试脚本,保存为test.py,然后运行命令python3 test.py可以看到效果
from selenium import webdriver
from selenium.webdriver.chrome.service import Service
from webdriver_manager.chrome import ChromeDriverManager

# 使用webdriver_manager自动管理ChromeDriver版本,确保与你的Chrome浏览器版本相匹配
service = Service(ChromeDriverManager().install())

# 创建Chrome选项,并启用无头模式
options = webdriver.ChromeOptions()
options.add_argument("--headless") # 启用无头模式
options.add_argument("--disable-gpu") # 适用于Linux系统,禁用GPU加速
options.add_argument("--no-sandbox") # 绕过沙盒模式(仅在Linux上需要)
options.add_argument("--disable-dev-shm-usage") # 绕过dev shm使用(仅在Docker容器中需要)

# 创建WebDriver实例
driver = webdriver.Chrome(service=service, options=options)

try:
  # 打开一个网页
  driver.get("https://www.baidu.com/")

  # 进行一些操作,例如搜索

  #search_box = driver.find_element_by_name('wd')
  #search_box.send_keys('Selenium Chrome')
  #search_box.submit()

  #print(driver.title)

  # 获取并输出网页的HTML内容
  html_content = driver.page_source
  with open('/home/wwwroot/testjs/output.html', 'w', encoding='utf-8') as file:
    file.write(html_content)
  print('网页内容已保存到 output.html')

  #print(html_content)
  # 等待一段时间(例如5秒)
  import time
  time.sleep(5)

finally:
  # 关闭浏览器
  driver.quit()
四、安装浏览器驱动程序Chromedriver,并配置PATH环境变量
114之前chromedriver驱动版本
官方:https://chromedriver.storage.googleapis.com/index.html
国内镜像:https://registry.npmmirror.com/binary.html?path=chromedriver/
115以后chromedriver驱动版本
国内镜像:https://registry.npmmirror.com/binary.html?path=chrome-for-testing/
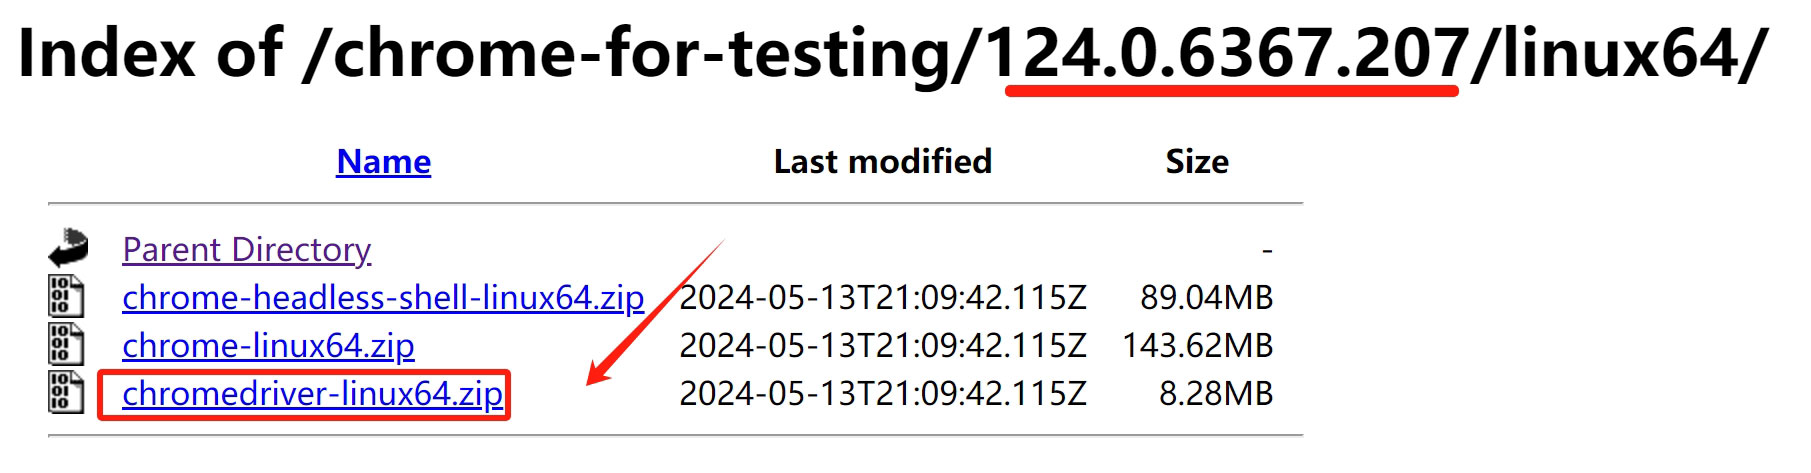
这里我选择的是和已安装chrome浏览器相近版本124.0.6367.207,点击进入对应目录,下载chromedriver-linux64.zip到本地,然后解压文件,将里面的文件chromedriver传到服务器目录/usr/bin
-- 如果PATH环境变量正确,则可以查看到Chromedriver版本
chromedriver --version

-- 如果不正确,可以通过下面方法,添加chromedriver对应的目录到环境变量中,比如
echo $PATH //查看有哪些目录在环境变量中
echo 'export PATH=$PATH:/path/to/driver' >> ~/.bash_profile
source ~/.bash_profile
#Selenium 3 测试脚本
from selenium import webdriver

# 设置ChromeDriver的路径(如果已经添加到PATH则不需要这行)
webdriver_path = '/usr/bin/chromedriver'

options = webdriver.ChromeOptions()
options.add_argument("--headless") # 启用无头模式
options.add_argument("--disable-gpu") # 适用于Linux系统,禁用GPU加速
options.add_argument("--no-sandbox") # 绕过沙盒模式(仅在Linux上需要)
options.add_argument("--disable-dev-shm-usage") # 绕过dev shm使用(仅在Docker容器中需要)
driver = webdriver.Chrome(executable_path=webdriver_path, options=options)

try:
  # 访问网页
  driver.get('https://www.baidu.com')

  # 获取网页的HTML内容
  html_content = driver.page_source

  # 将HTML内容写入文件
  with open('output.html', 'w', encoding='utf-8') as file:
    file.write(html_content)
  print('网页内容已保存到 output.html')
finally:
  # 关闭浏览器
  driver.quit()
#在Selenium 4之前这样设置ChromeDriver路径
from selenium import webdriver
driver = webdriver.Chrome(executable_path="/usr/bin/chromedriver")


#在Selenium 4之后通过service参数来设置ChromeDriver路径

#步骤三里的测试脚本也可以改成下面的方法,则不用安装webdriver_manager库
from selenium import webdriver
from selenium.webdriver.chrome.service import Service

# 创建Chrome选项,并启用无头模式
options = webdriver.ChromeOptions()
options.add_argument("--headless") # 启用无头模式
options.add_argument("--disable-gpu") # 适用于Linux系统,禁用GPU加速
options.add_argument("--no-sandbox") # 绕过沙盒模式(仅在Linux上需要)
options.add_argument("--disable-dev-shm-usage") # 绕过dev shm使用(仅在Docker容器中需要)

service = Service('/usr/bin/chromedriver')
driver = webdriver.Chrome(service=service, options=options)

try:
  # 打开一个网页
  driver.get("https://www.baidu.com/")

 # 获取并输出网页的HTML内容
  html_content = driver.page_source
  with open('/home/wwwroot/testjs/output.html', 'w', encoding='utf-8') as file:
    file.write(html_content)
  print('网页内容已保存到 output.html')

  # 等待一段时间(例如5秒)
  import time
  time.sleep(5)

finally:
  # 关闭浏览器
  driver.quit()
相关问题链接:
TypeError: WebDriver.__init__() got an unexpected keyword argument ‘executable_path’报错解决方案


